Ubuntu 24.04 LTS is one of the most popular Linux distributions for production servers, cloud instances, and virtual machines. A clean and well-planned Ubuntu 24.04 server installation helps you avoid networking problems, disk layout issues, and security misconfigurations later in the lifecycle of your dedicated or virtual server.
This technical guide walks you through the entire Ubuntu 24.04 Server installation process step-by-step — from language and keyboard selection to static IPv4 network configuration, custom storage layout, user and SSH setup, and finally disconnecting the mounted ISO image. Each step is supported by screenshots so you can follow along easily on bare metal, KVM, or any other hypervisor.
If you are preparing a new server for hosting websites, containers, or databases, this Ubuntu 24.04 installation tutorial is designed to be both beginner-friendly and suitable for experienced system administrators who need a predictable, repeatable installation process.
Step 1 – Initial Installation
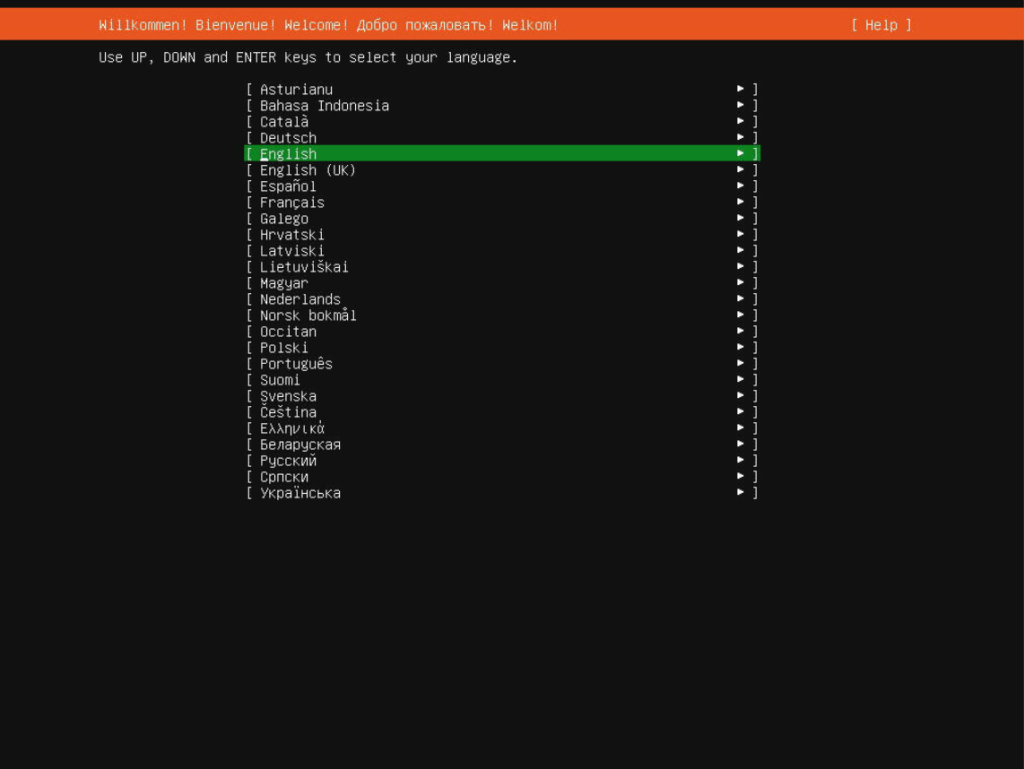
In this first step, you start the Ubuntu 24.04 Server installer from the ISO mounted on your dedicated server or virtual machine console. These screens define the language and keyboard layout that will be used throughout the installation process.
1. Choose your preferred language and continue.
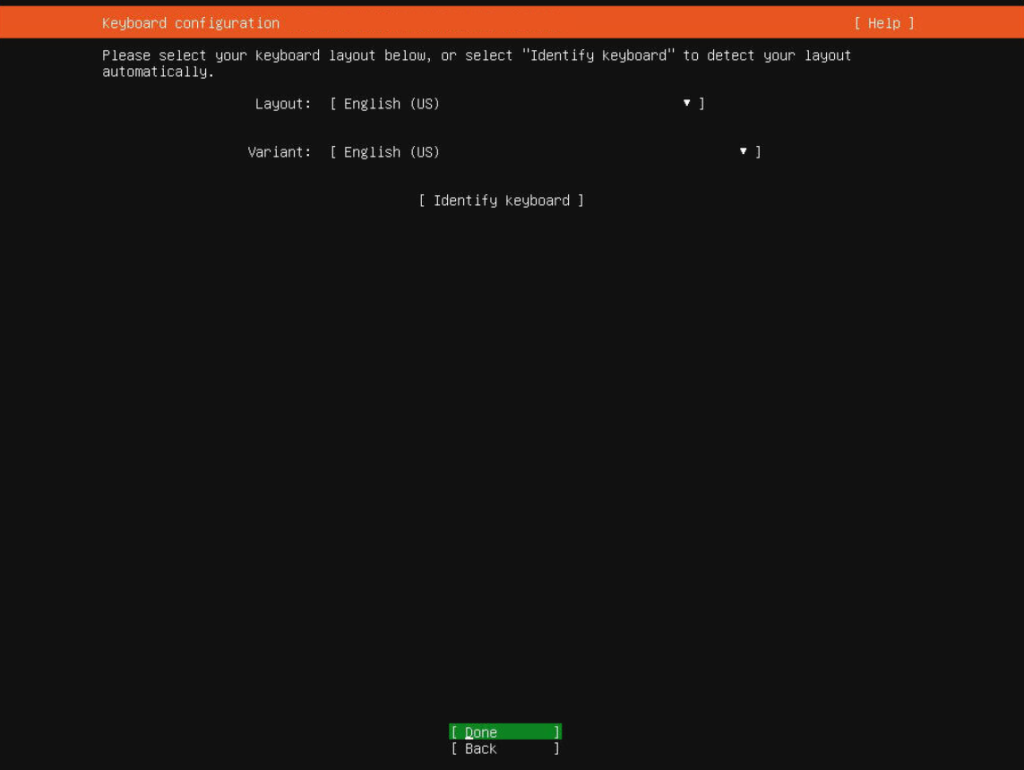
2. Select your keyboard layout.
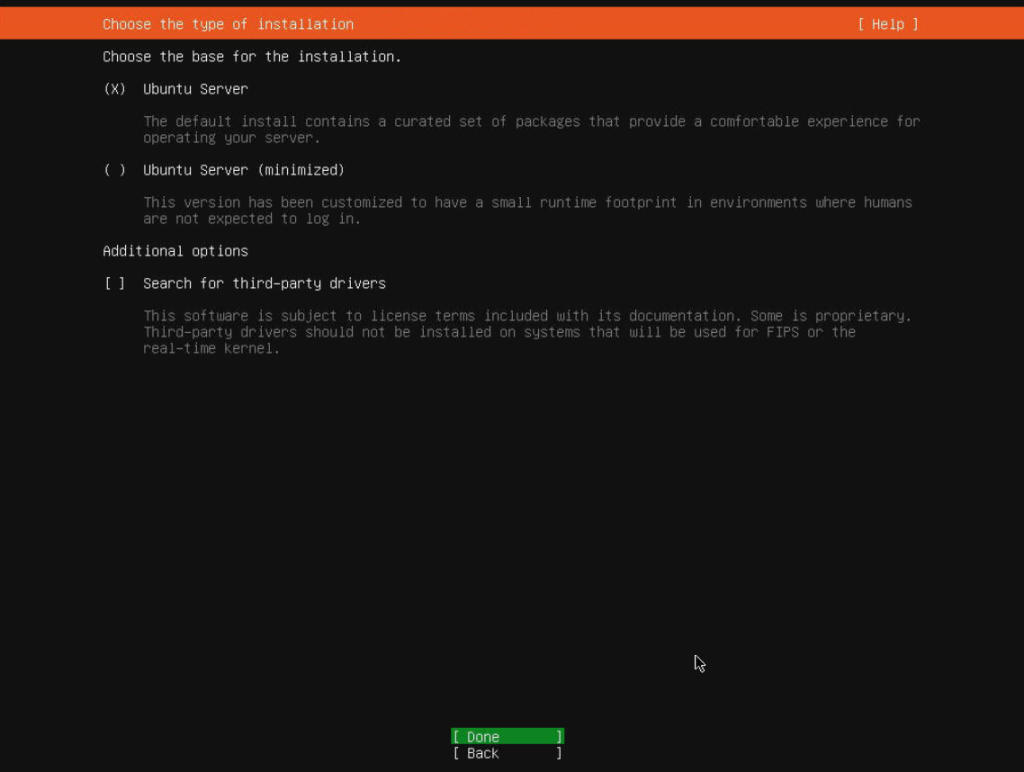
3. Choose “Ubuntu Server” as the base to install.
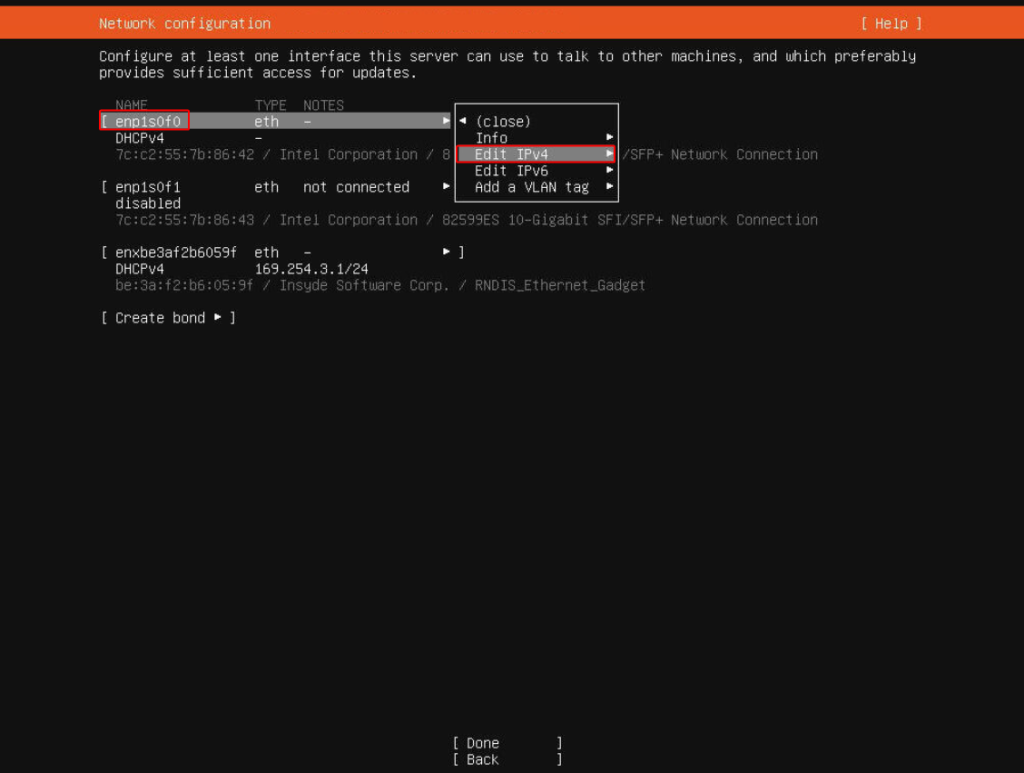
Step 2 – Network Configuration
Correct network configuration in Ubuntu 24.04 is critical, especially on dedicated servers with static IP ranges. In this section, you will configure IPv4 settings such as subnet, main IP address, gateway, and DNS resolvers.
4. Select the network interface to configure IPv4.
5. Choose “Manual” for network configuration.

6. Perform IPv4 configuration.
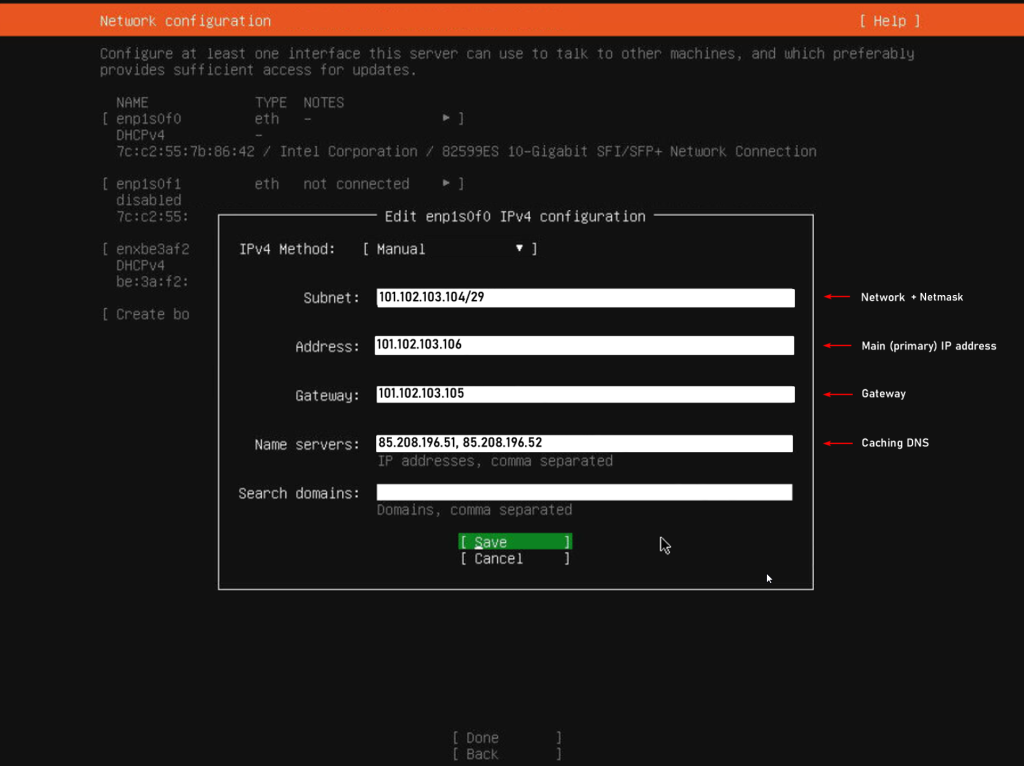
Your Ubuntu 24.04 static IP configuration typically includes:
- Subnet: The network address with CIDR or netmask.
- Main IP: The primary IP assigned to your server.
- Gateway: The default route (usually the first usable IP of the block).
- DNS: 85.208.196.51, 85.208.196.52 (or your preferred DNS resolvers).
You can verify your IP block and individual addresses under IP Management before saving the configuration.
Example configuration:

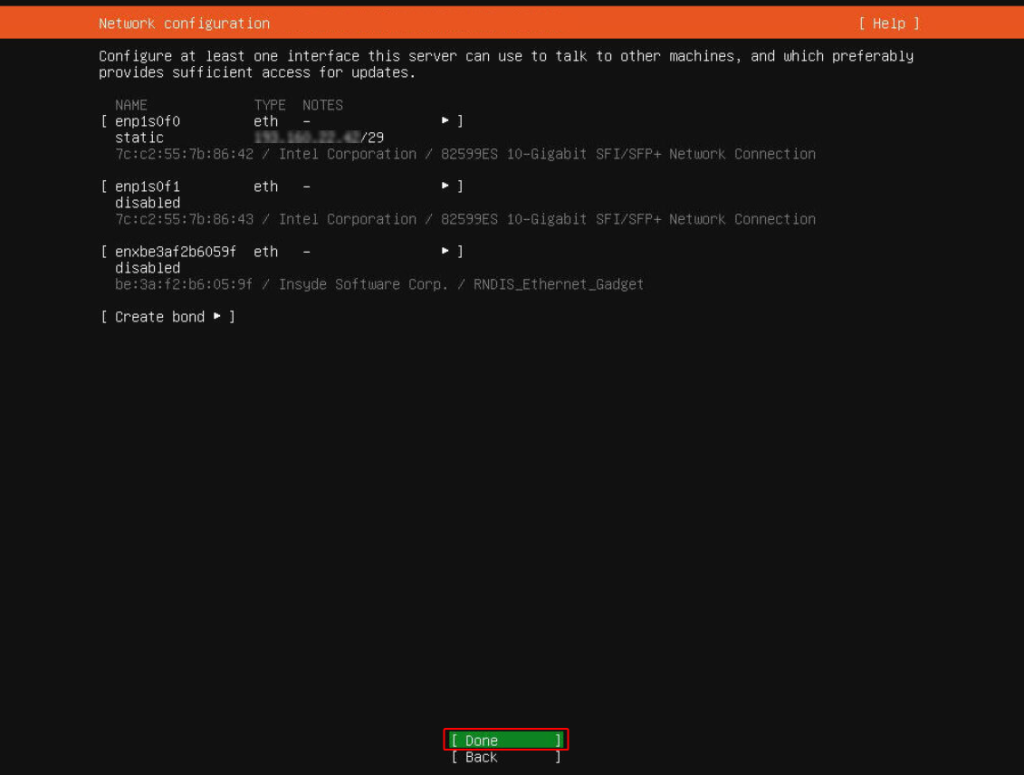
7. After saving, wait for the “Done” button to appear and continue.
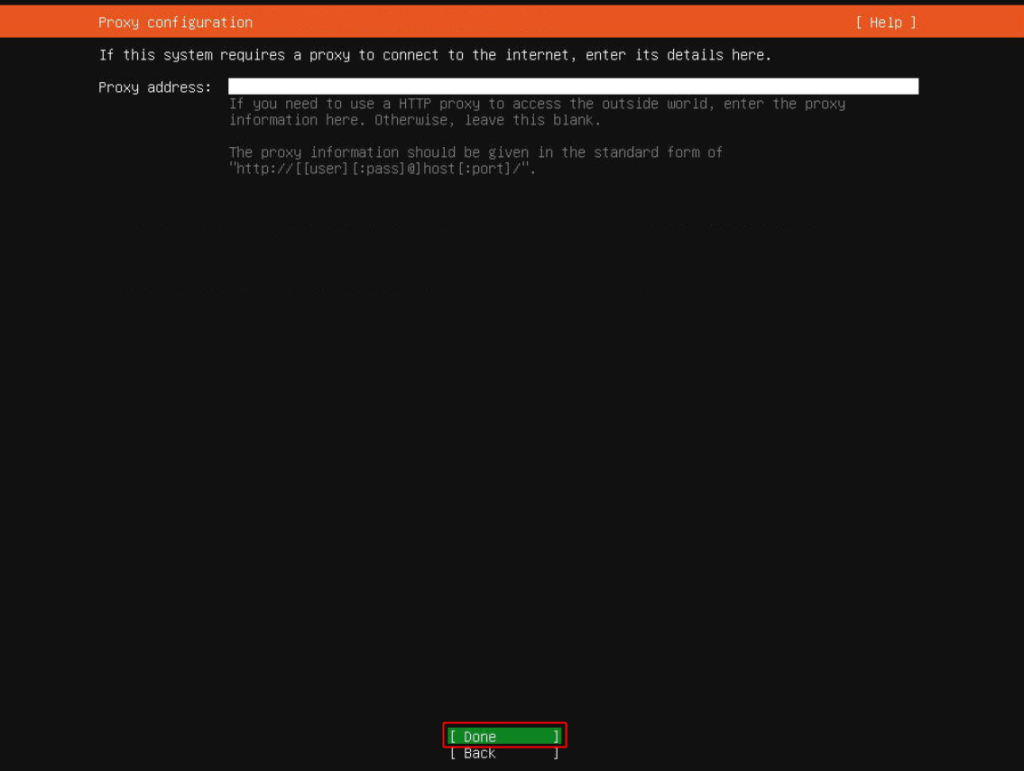
Step 3 – Package & Proxy Settings
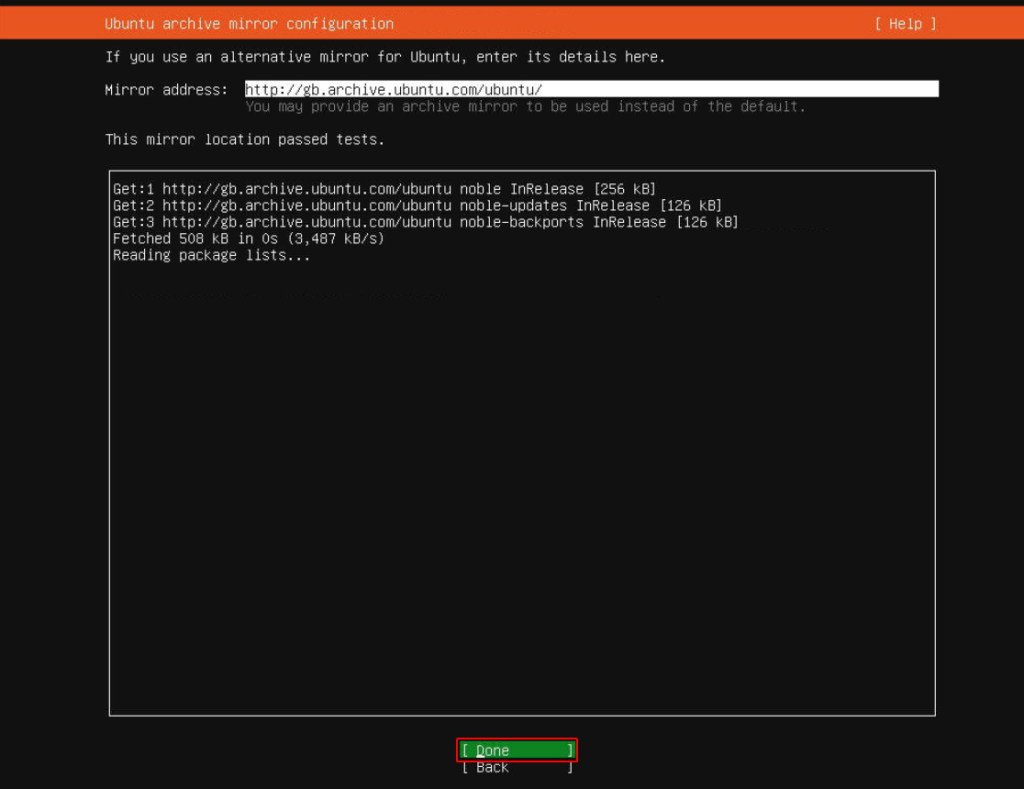
In this step, the installer lets you define a proxy server (if your environment requires one) and performs a mirror test to reach the official Ubuntu repositories. These settings affect how your new Ubuntu 24.04 server will fetch updates and packages.
8. Configure Proxy if required. Usually left blank.
9. Ubuntu runs a mirror test. When complete, click “Done.”
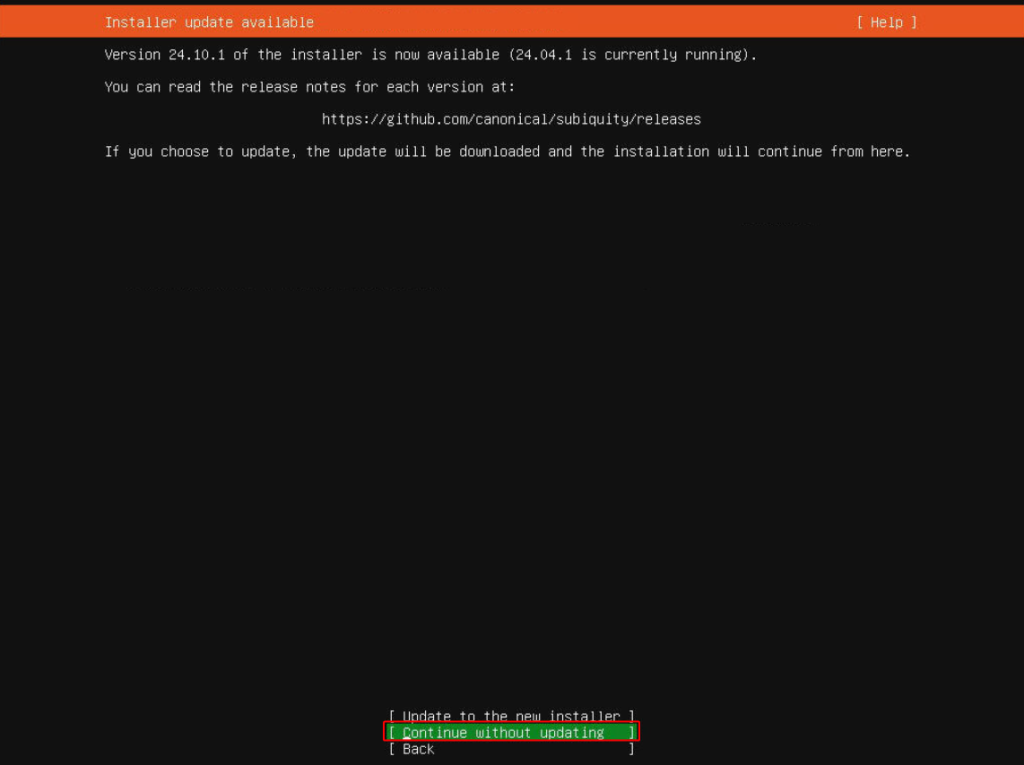
10. Continue without starting updates (recommended for installation speed).
apt update && apt upgrade after the first login when you have full console and network access.Step 4 – Storage Configuration
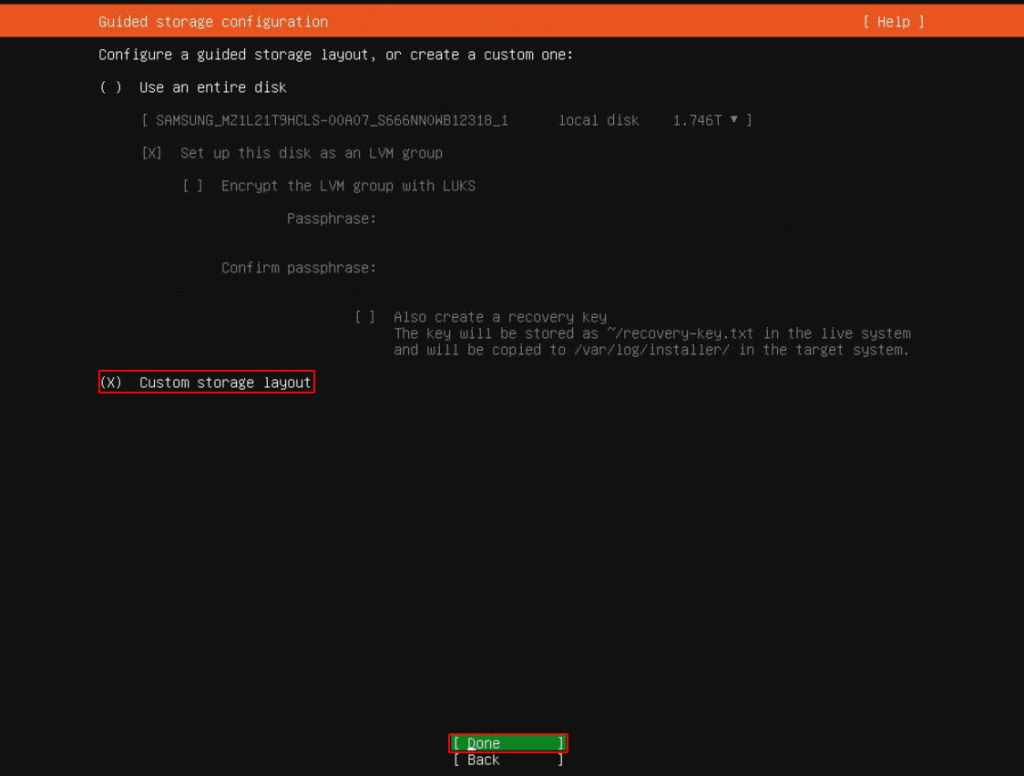
Storage layout is a key part of a professional Ubuntu 24.04 server setup. Using a custom layout allows you to control how swap and the root filesystem are distributed across disks, which is especially important for SSD/NVMe setups and RAID configurations.
11. Select “Custom storage layout.”
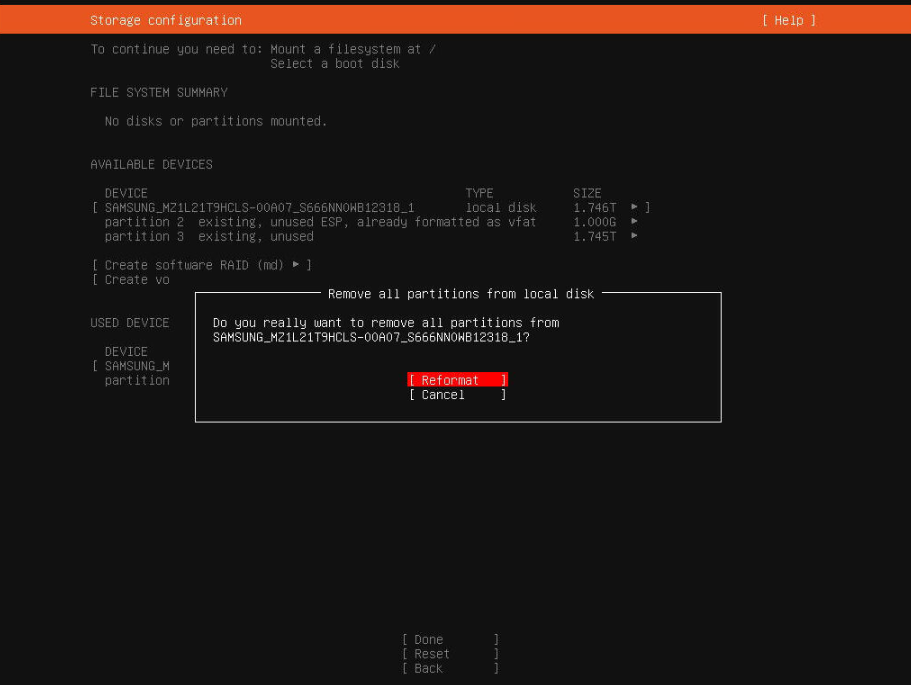
12. If an OS existed before, delete old volumes.
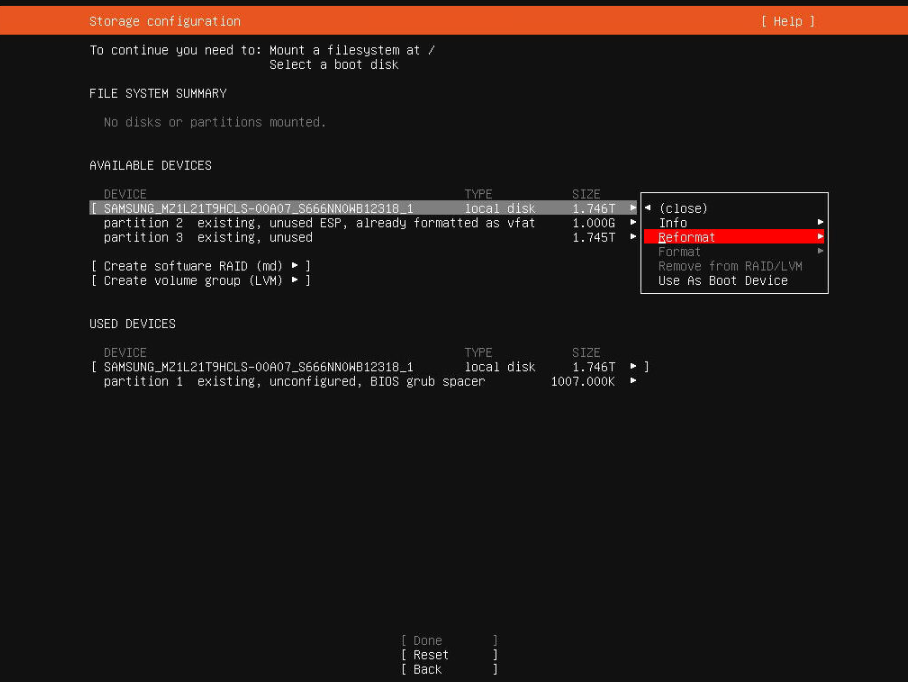
13. Confirm formatting.
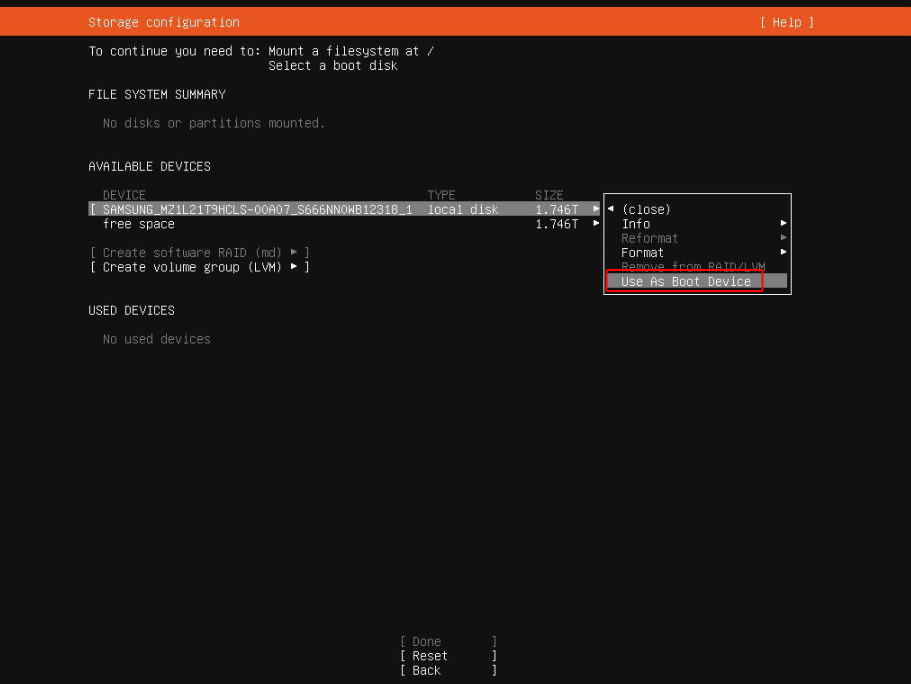
14. Select the boot device.
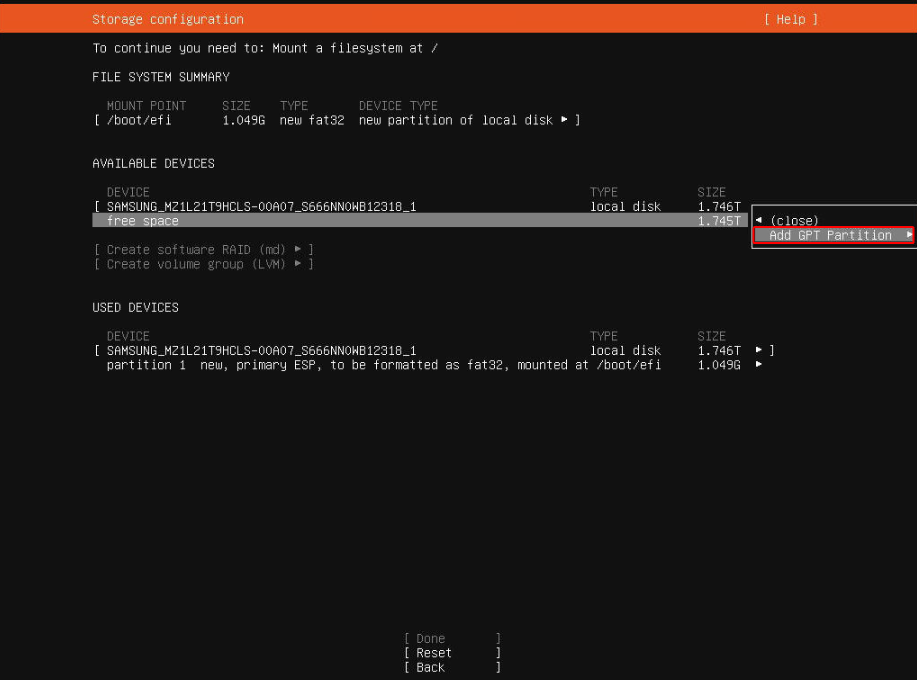
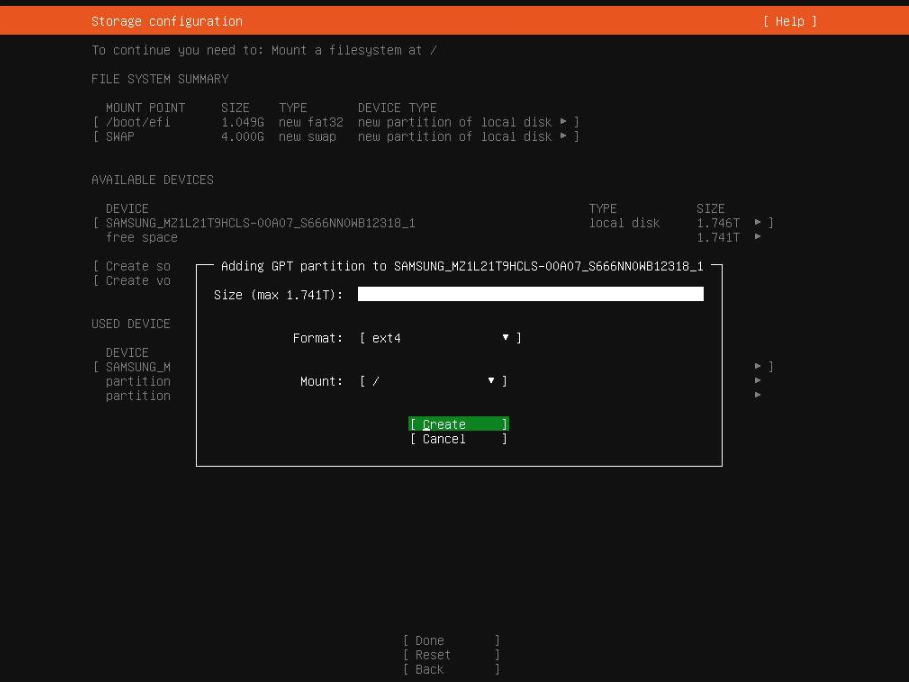
15. Create a new partition.
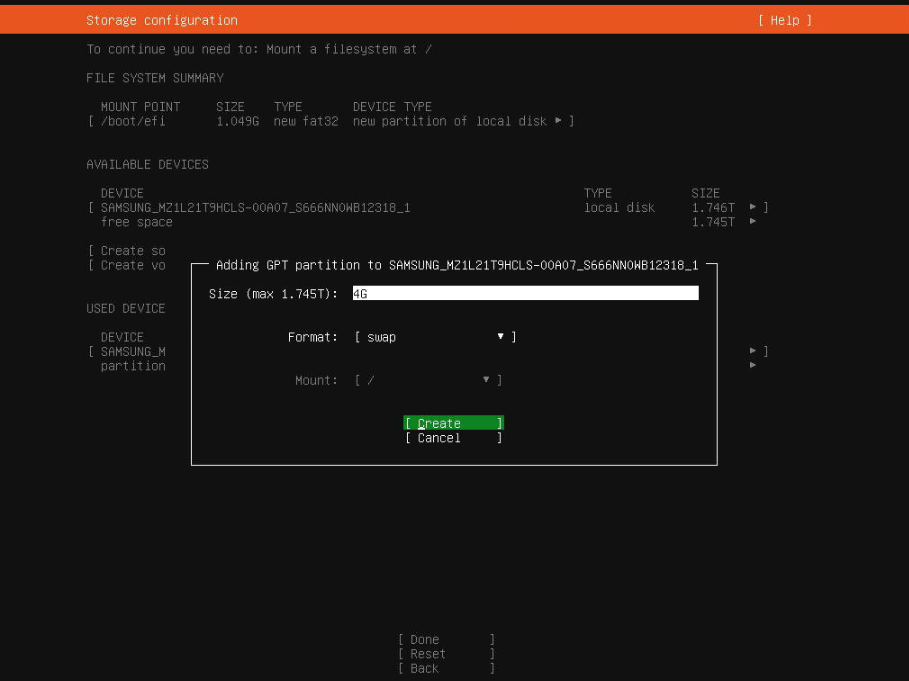
16. Create the Swap partition (commonly 4GB).
17. Create another partition for the root filesystem (/).

18. Allocate the remaining disk space to / (root).
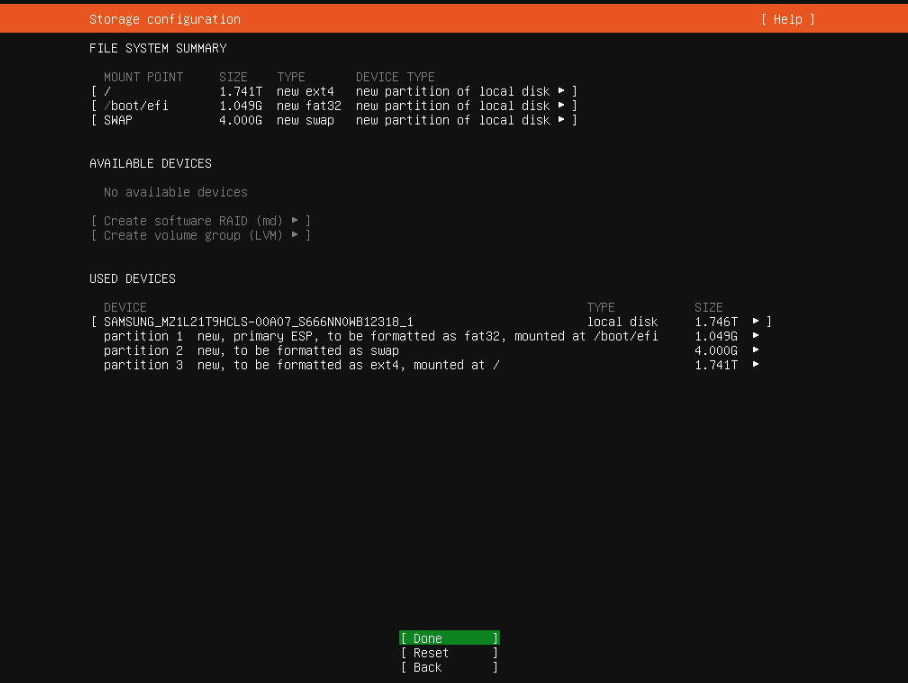
19. Review and continue.
20. Confirm formatting changes.
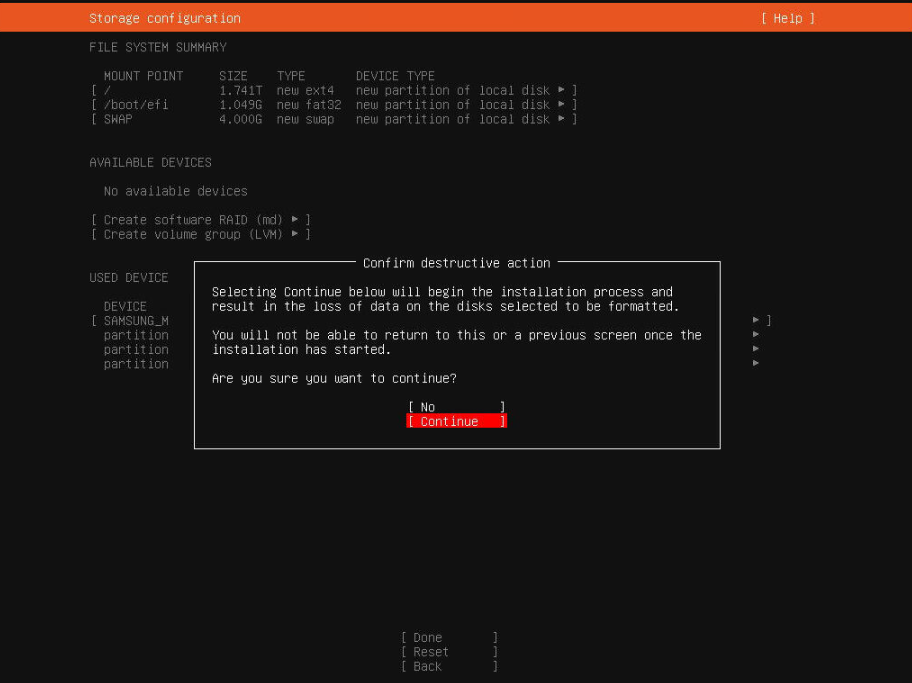
/) partition is enough. More advanced setups can use LVM or ZFS, but this guide focuses on the standard Ubuntu 24.04 server installation with classic partitions.Step 5 – User & Application Setup
Next, you will create the initial user account for your Ubuntu 24.04 server and choose basic packages such as the OpenSSH server. This step directly affects how you log in and manage the system after installation.
21. Create your user account.
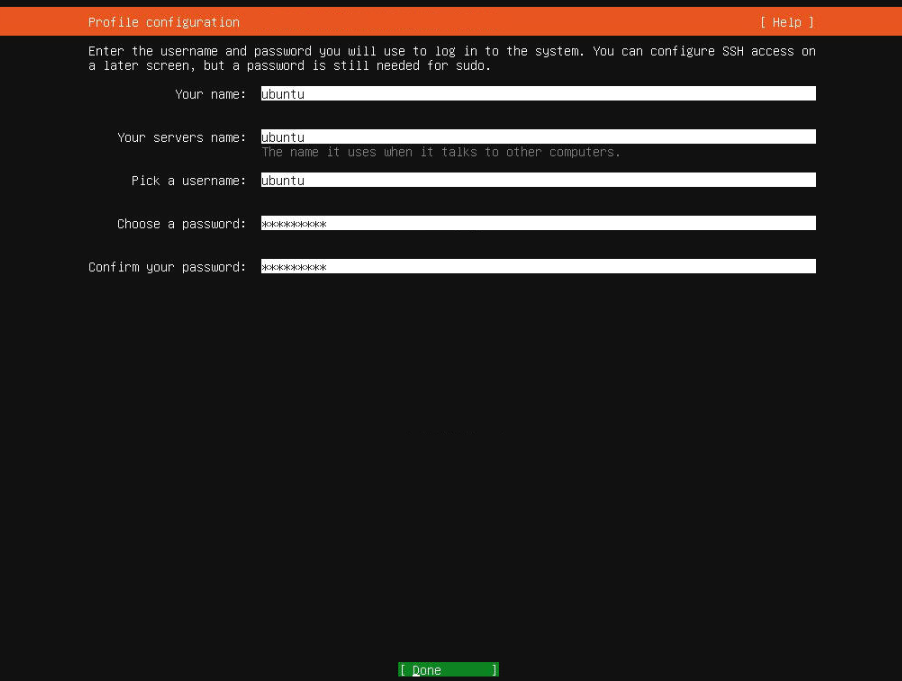
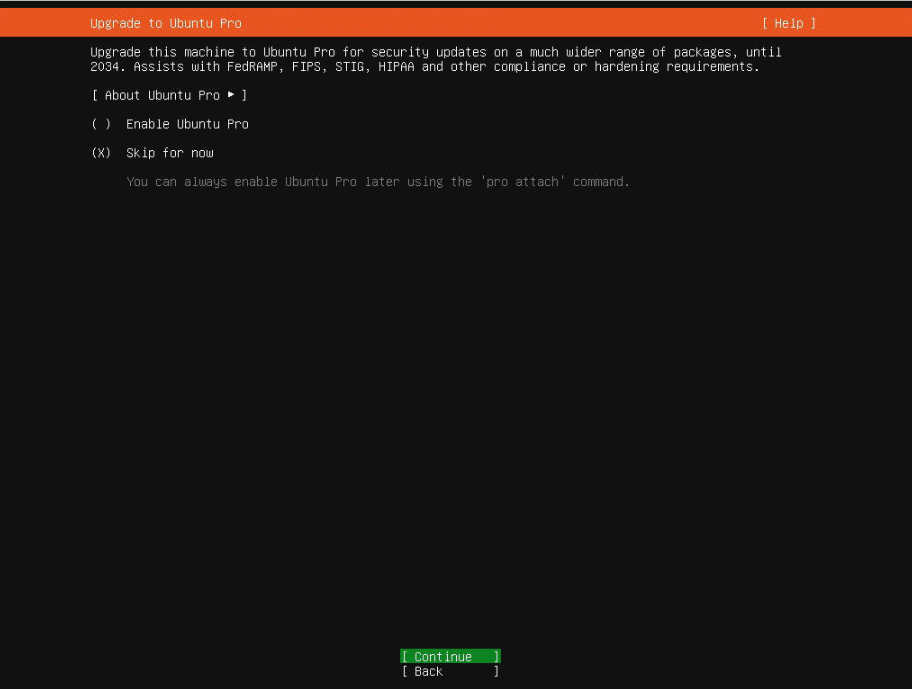
22. Continue with the default settings.
23. Press Space to enable “OpenSSH Server.” (Important for remote access)
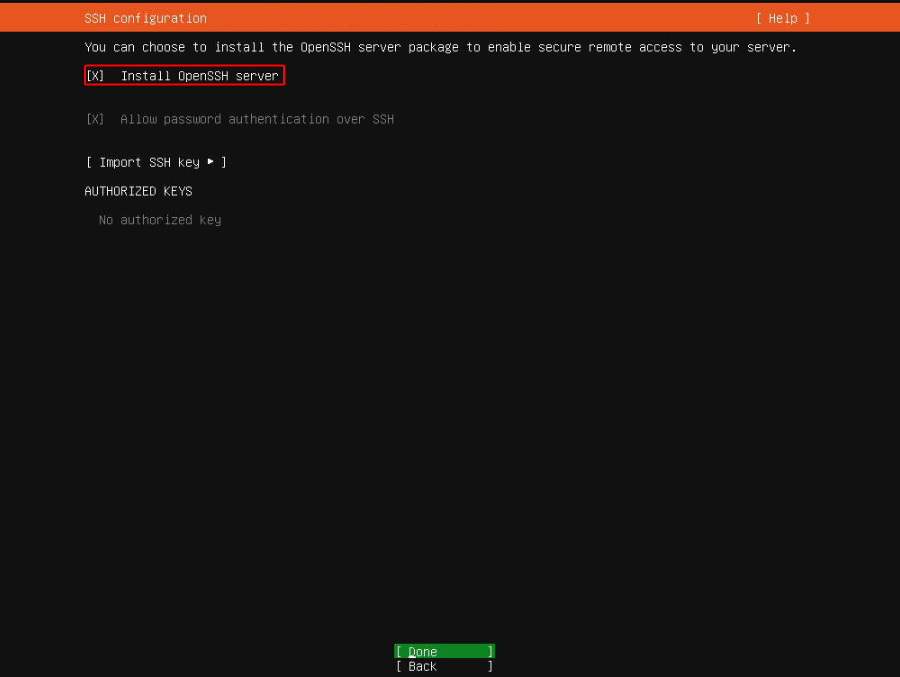
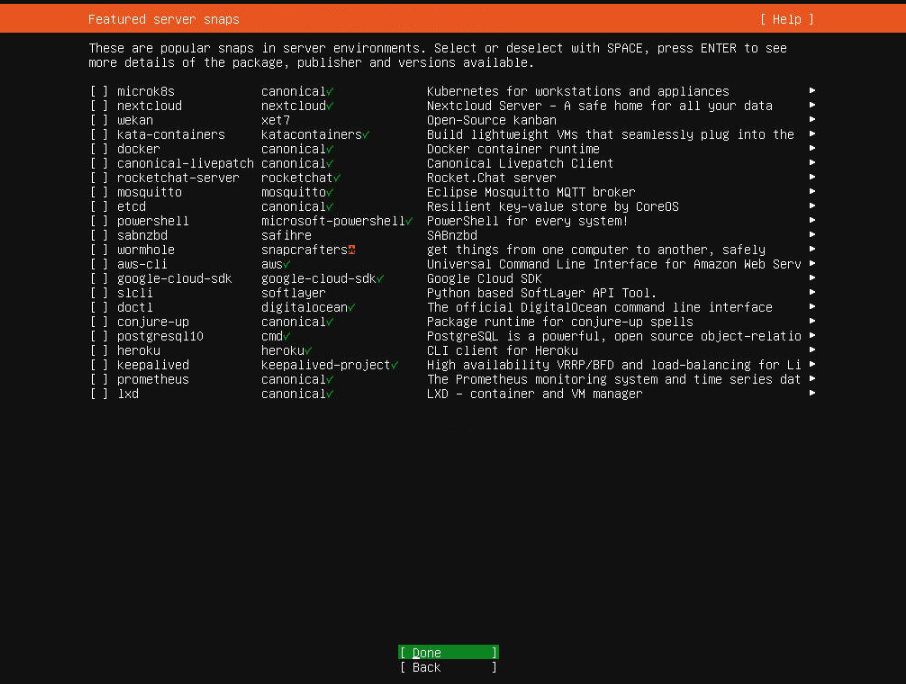
24. If you don’t need any extra packages, continue.
Step 6 – Completing the Installation
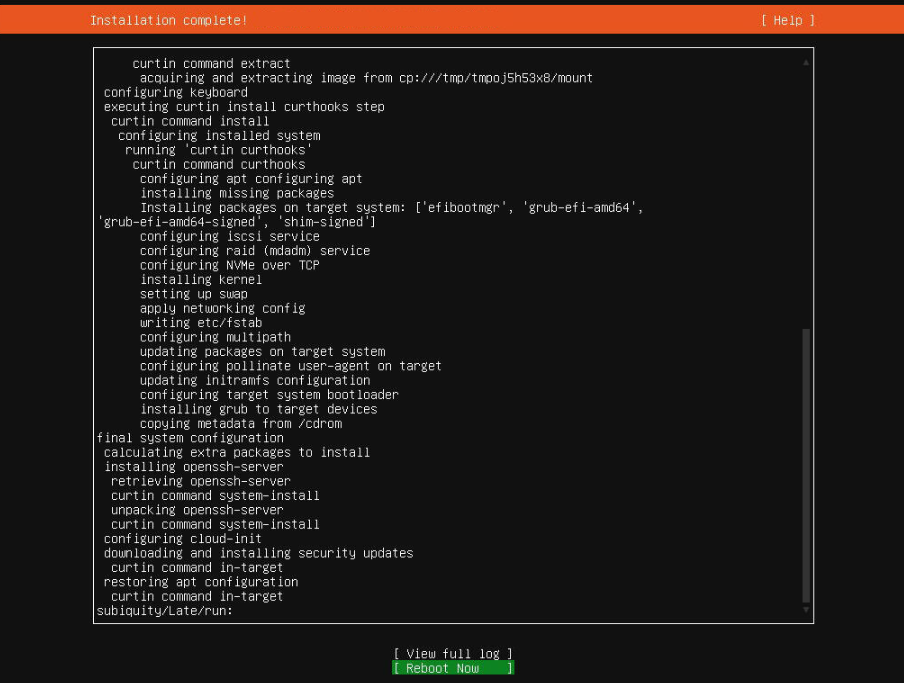
Once all parameters are defined, the installer writes the Ubuntu 24.04 system to disk and installs the bootloader. This phase may take a few minutes depending on your disk and network performance.
25. Installation may take a few minutes. Wait until “Reboot Now” appears.

26. Once visible, select “Reboot Now.”
Step 7 – Disconnecting the Mounted ISO
After Ubuntu 24.04 has been installed, the server must boot from the local disk instead of the virtual ISO. Many remote management consoles require you to manually unplug the ISO image.
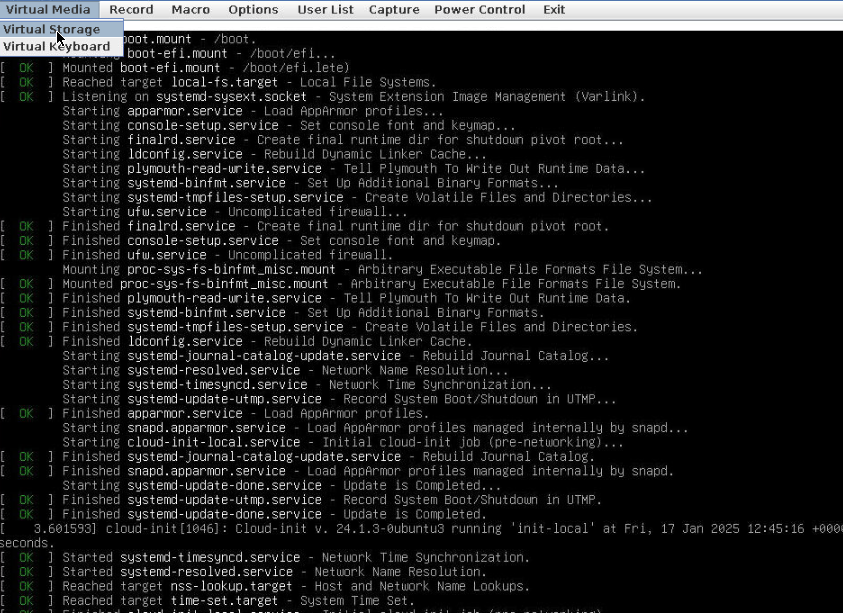
27. Ubuntu may warn about the mounted ISO. Pressing Enter might not eject it.

28. Go to “Virtual Storage.”
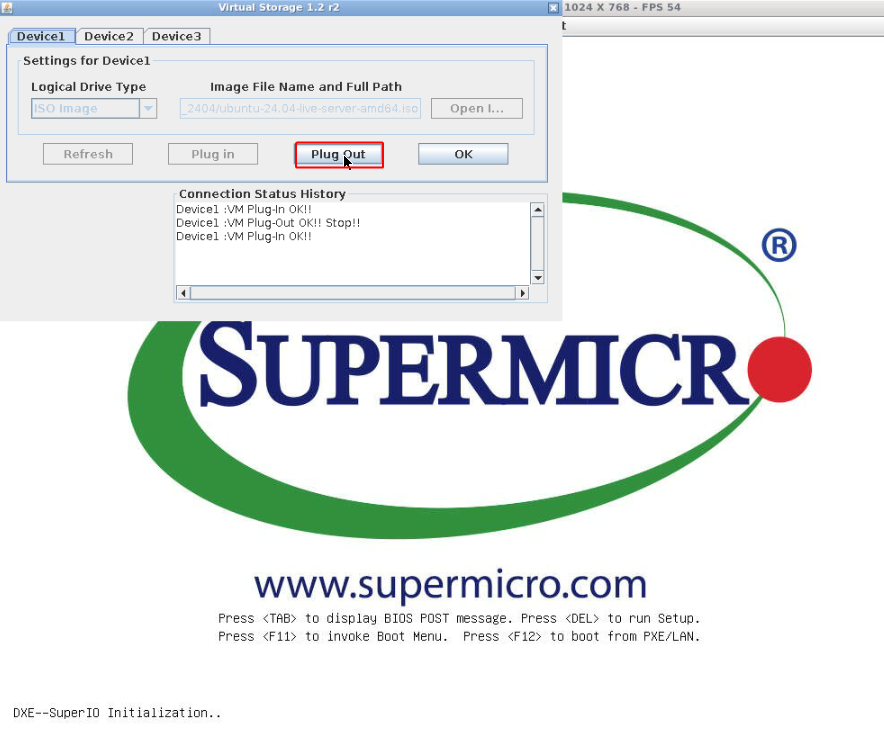
29. Click “Plug Out” to safely disconnect the ISO.
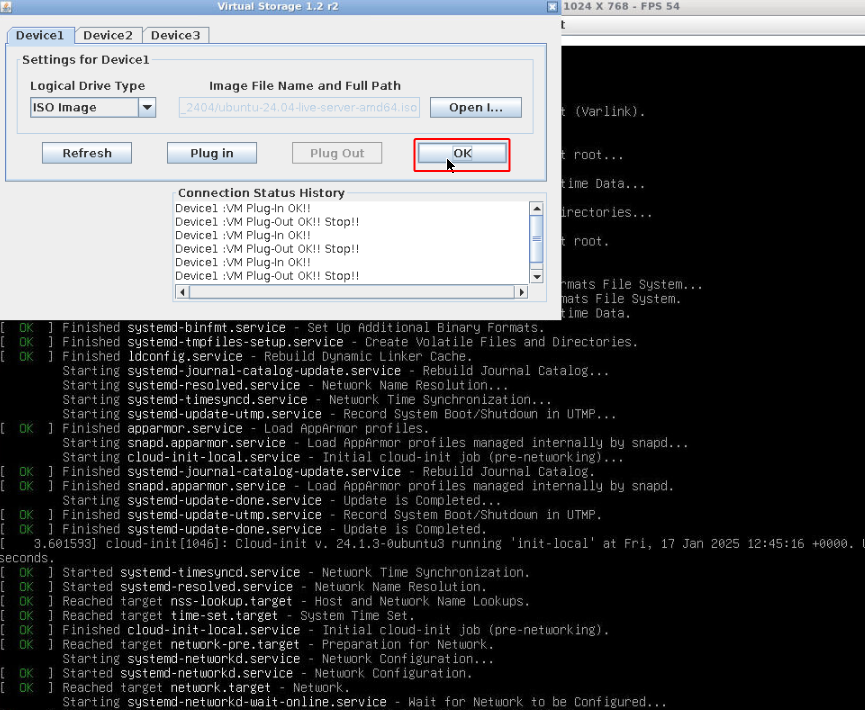
30. After clicking OK, wait for the server to boot. Reboot manually if necessary.
Conclusion – Hardening Your Ubuntu 24.04 Server
By following these steps, you have completed a clean and structured Ubuntu 24.04 LTS server installation with static network configuration, custom storage layout, and OpenSSH access. At this point, your system is ready to be integrated into a production environment, used as a dedicated application host, or prepared for further automation with tools like Ansible or Terraform.
As a next step, log in via SSH or console and perform essential post-installation tasks:
- Update the package index and apply security patches:
apt update && apt upgrade - Configure a basic firewall (for example using
ufw) to limit open ports. - Harden SSH by disabling root password login and enabling key-based authentication.
- Set up monitoring, backups, and logging according to your infrastructure standards.
With these additional steps, your Ubuntu 24.04 server will not only be installed correctly but also prepared for long-term, stable, and secure operation in your data center or cloud environment.


